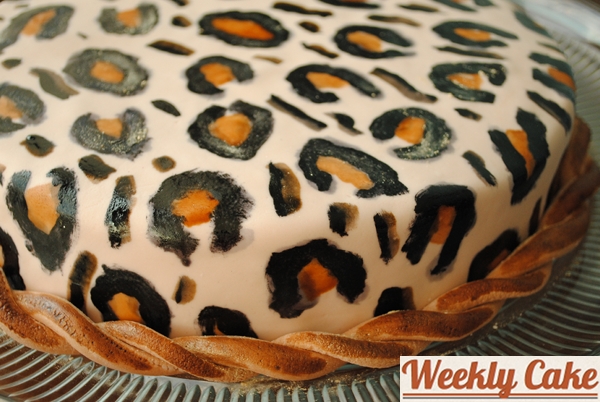
Of all the cakes I baked so far this year, I’m most proud of this one.
My best friend, Rory, just moved across the country. The occasion called for a celebration, and a cake. I asked Rory weeks ago what kind of cake he wanted. He replied with a photo of a drunken Barbie cake he’d found on CakeWrecks.
Well, I thought, that’s easy. I’ll just whip up a tacky cake and plop a Barbie on top. But, no, then Rory started babbling on about how the cake underneath the Barbie had to look spectacular. He wanted a leopard cake. Rory and leopard print are synonymous. Just check out this video, starring Rory himself.
Pussé Poussière from Carly Usdin on Vimeo.
I had a challenge on my hands.
I researched my options for crafting a leopard print cake. I could do fondant with cut-out spots. I could pipe a leopard pattern with buttercream. Or I could paint the pattern onto the fondant. I opted for the latter. It seemed easiest. In high school I would doodle leopard print in my notebook’s margins using pencil shading, so I knew I could do a decent job with food dye “paint”.
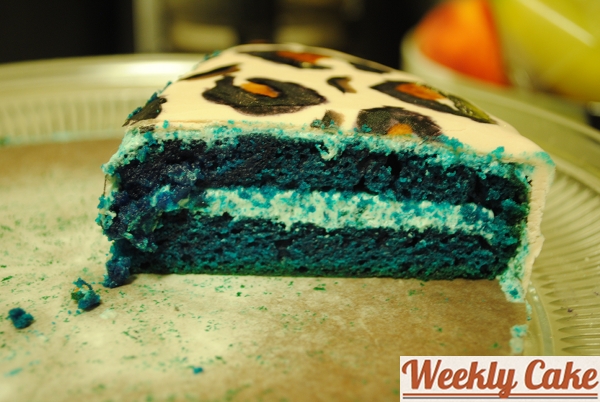
For the cake itself, I made red velvet. Well, blue velvet to be more accurate. Rory recently dyed his hair blue. And shortly after he did so, we met up in the park to hang out. Rory’s beach towel was leopard (of course) with a teal border. I was inspired by the color combo.
So now I’ll give you the rundown of how I made this cake. It was a day-long project and this post illustrates the whole process. So pour yourself a cup of coffee because this is going to take a while.
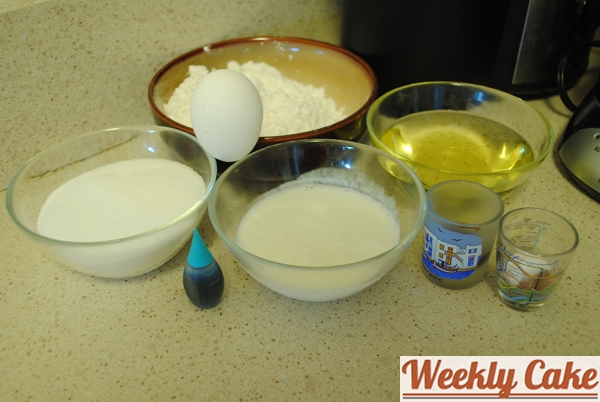
Here’s my mise en place for the velvet cake. The food coloring was the blue found in the McCormick neon food coloring pack.
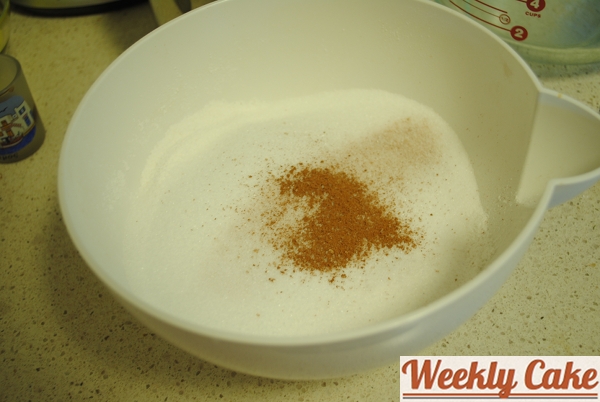
Making the cake was the easy part. Red velvet is easy peasy. Sift all the dry ingredients together.
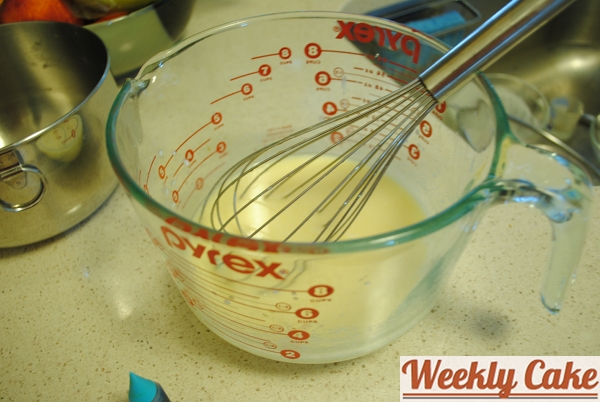
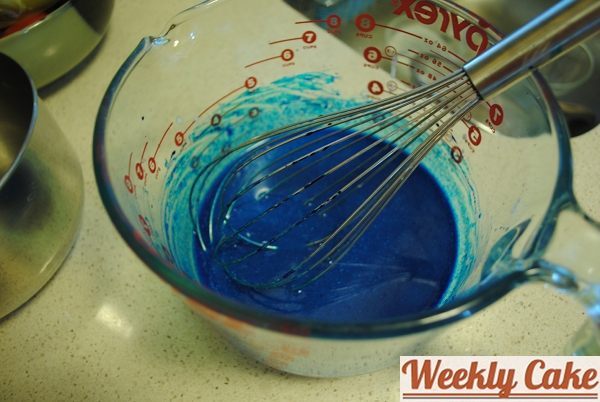
Whisk together the wet ingredients.
Then add the food dye.. the whole contents of that little bottle.
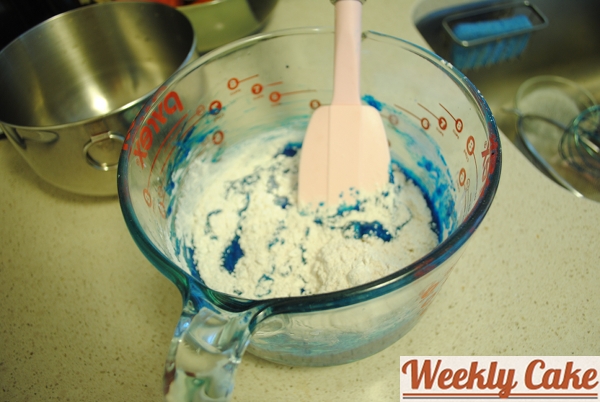
Next I mixed the dry ingredients into the wet mixture.
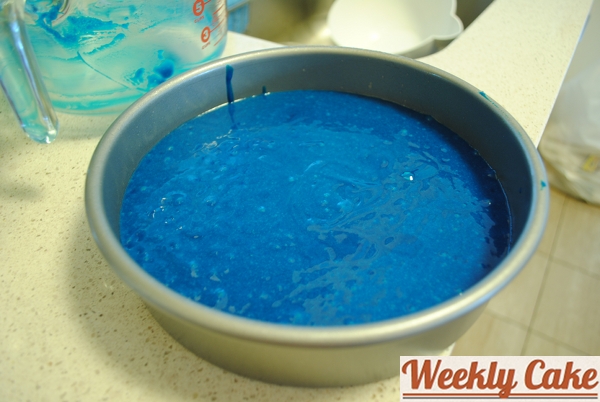
I poured the batter into a parchment-lined, greased 8″ pan.
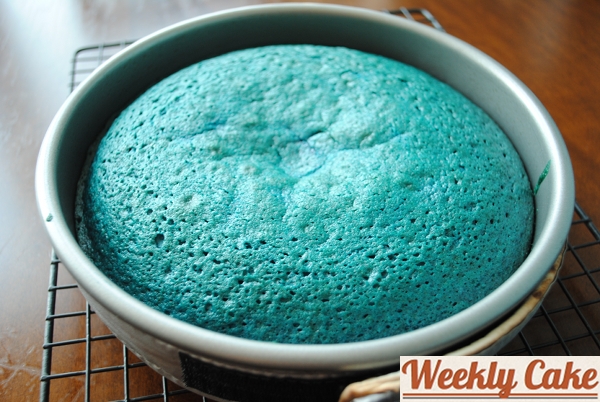
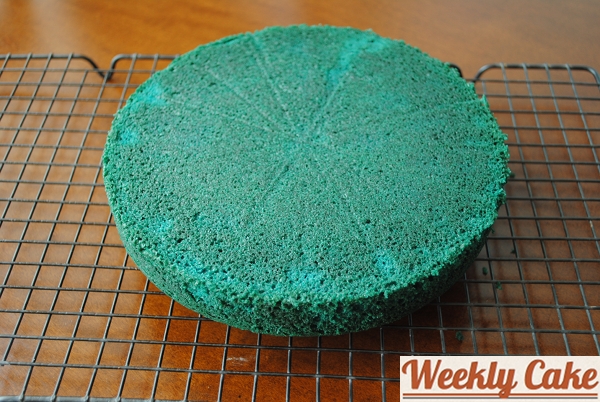
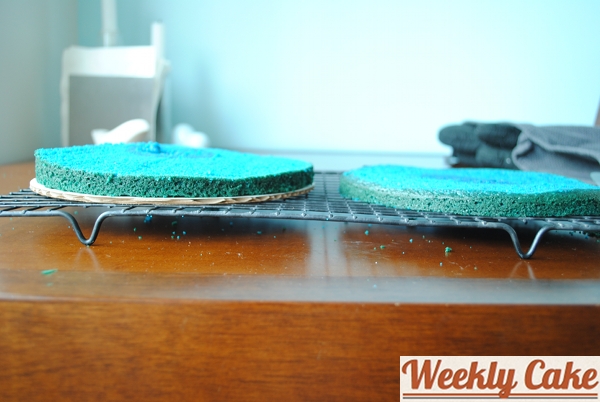
The cake baked in about 30 minutes. I remembered about halfway through that I meant to use one of my handy dandy pan strips in order to ensure more even baking and less “doming” on the top. But it was too late. The cake domed.
After about 20 minutes, I took the cake out of the pan to continue cooling.
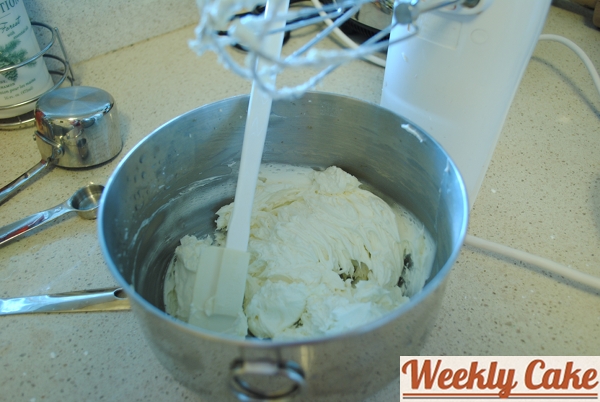
In the meantime, I made a small batch of vanilla buttercream in order to give the cake a crumb coat before topping it with homemade marshmallow fondant.
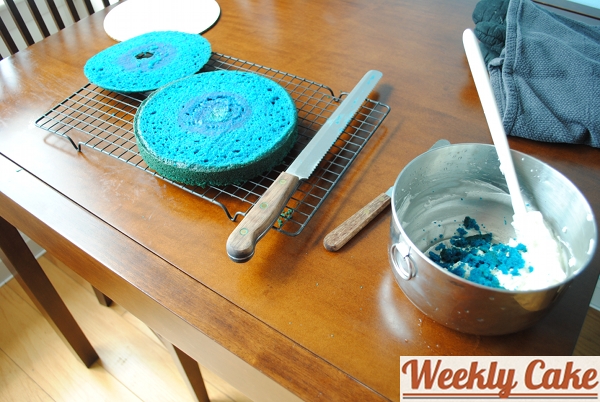
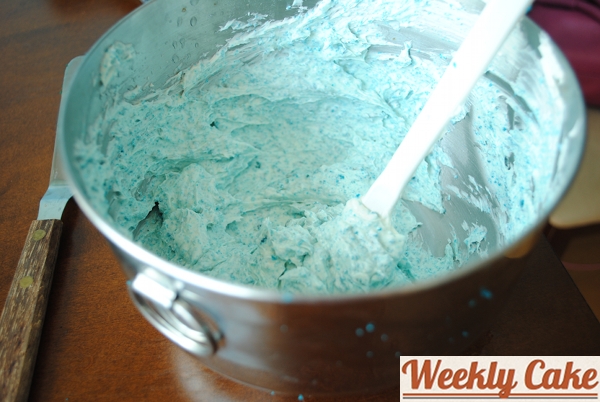
It was time to begin assembling the cake. I cut the cake’s dome off and used some of the crumbs in the frosting in order to make the cake spackle I learned how to use in cake decorating class.
I mixed some of the cake scraps into the frosting and I ate the rest. It was SO SO good. I had forgotten how delightful my recipe for red velvet cake was!
With my cake spackle ready to go, I sliced the cake layer in half crosswise so I would have two layers. I got a little sloppy and the cake layers came out uneven.
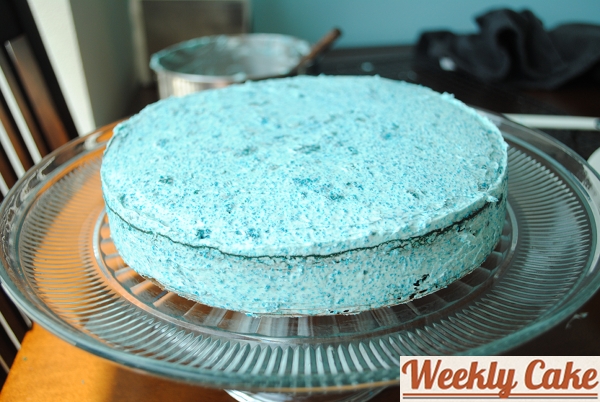
It was nothing a little cake spackle couldn’t fix. I went ahead and finished the crumb coat.
I popped the cake into the fridge to harden the icing for an hour or so and started to make the marshmallow fondant.
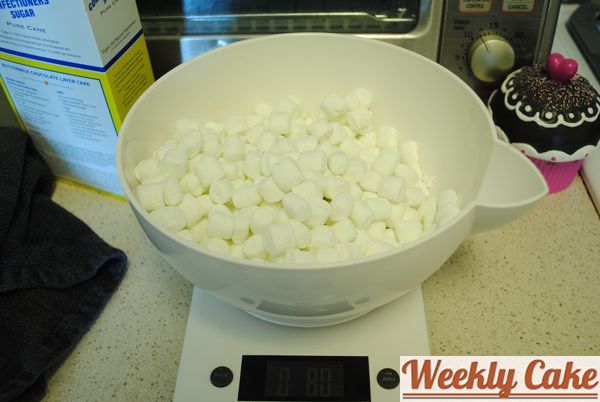
I measured out 10 oz. of mini marshmallows.
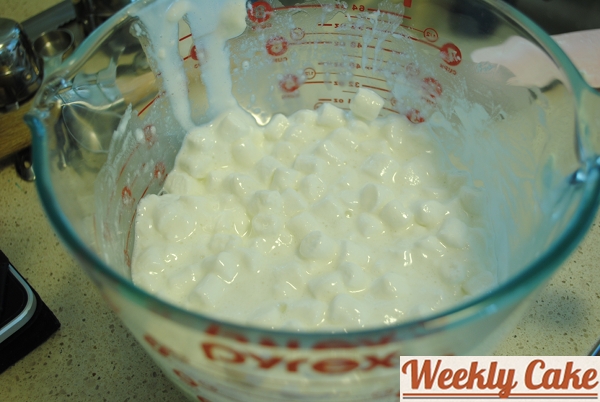
I transfered the marshmallows to a microwave safe bowl and added 3 tablespoons of water. After a few rounds of 30 second zaps in the microwave, they were melted.
Next I added 1 lb of confectioner’s sugar.
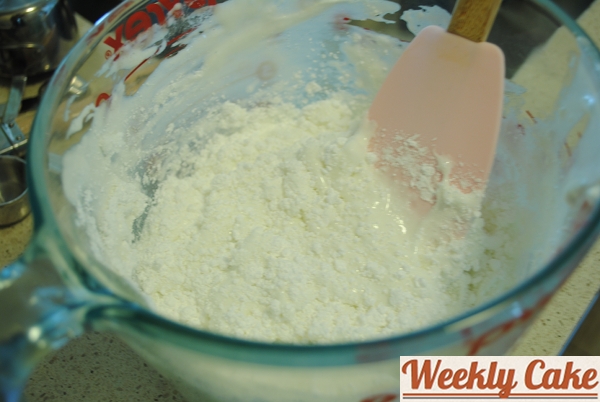
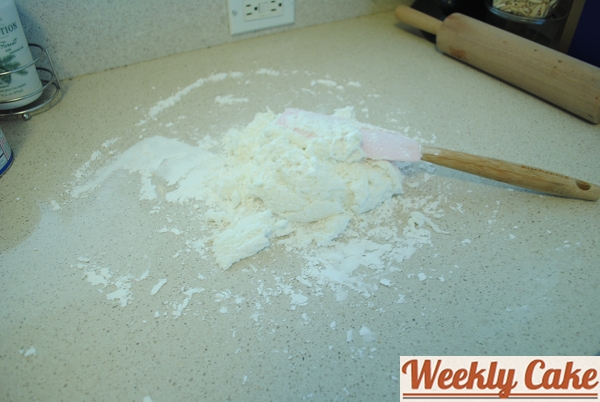
And I stirred and stirred until I couldn’t stir anymore. I transferred the mix onto my sterilized countertop that I sprinkled with confectioners sugar.
My hands, coated with Crisco to prevent sticking, kneaded the heck out of the mixture until it resembled play dough.
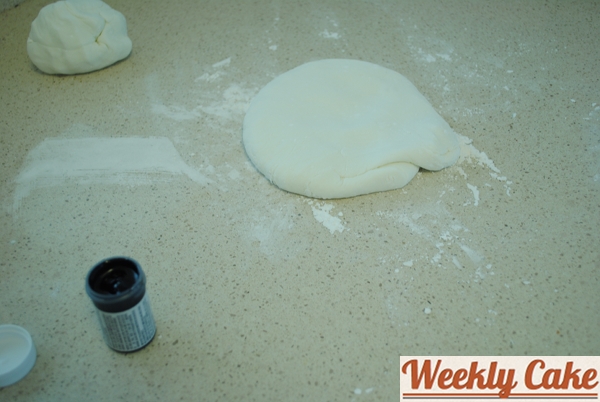
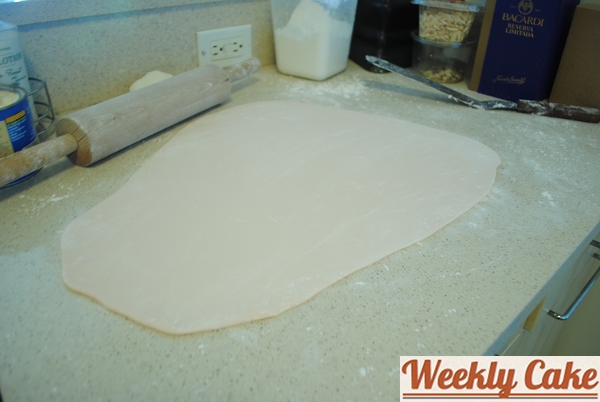
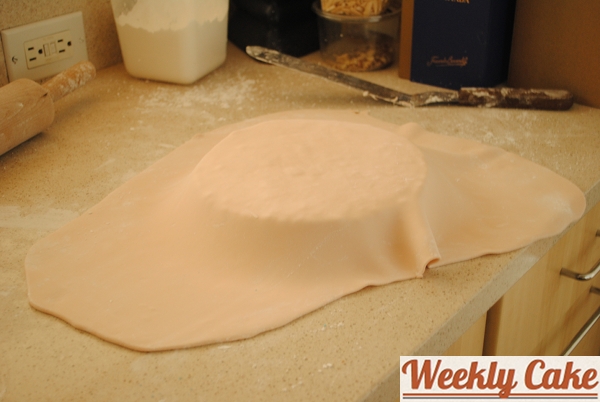
I divided the fondant batch in half and worked a few drops of brown food coloring into half of it before rolling it out.
I placed it on top of the cake.
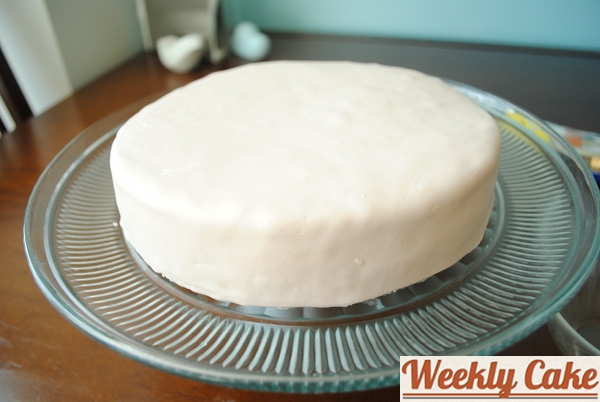
Then smoothed it down the sides and trimmed away the excess.
I was concerned because my lump cake spackle was showing through. I realized it may have been a wiser idea to give the cake a smooth coat of frosting over the crumb coat and before the fondant to prevent all the lumps and bumps. Lesson learned! It was my first time ever making and working with fondant.
I hoped the leopard painting would mask the bumps, and I think it worked.
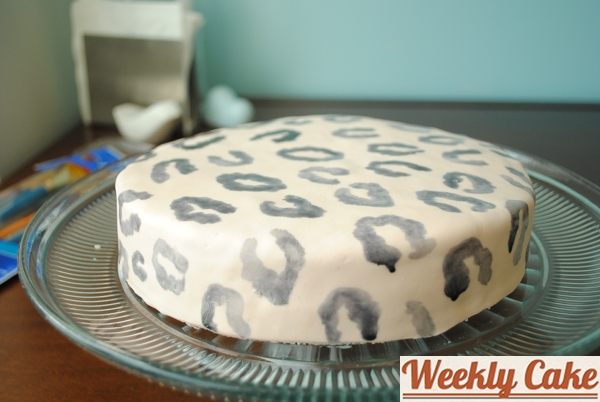
I gave the whole cake a thin coat of vodka using a pastry brush, because I had seen it on a YouTube instructional video. It did a nice job of making the fondant shiny. And then I employed everything I learned in high school art class and set out painting.
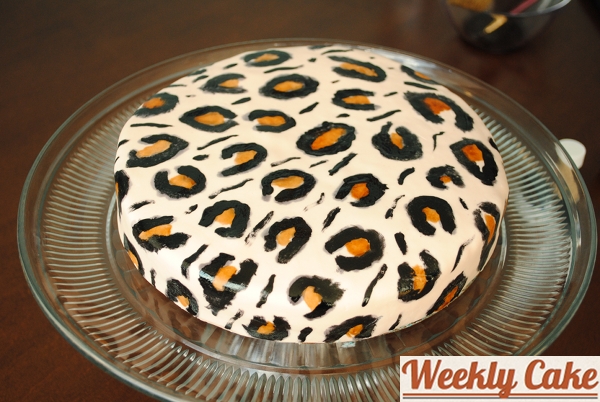
First I did the black spots and then the brown. Then I went back in with the black to make the finishing touches.
To finish off the edges, I did a rope pattern with fondant, brushing it with brown dye and finishing the whole thing off with some touches of edible, gold petal dust.
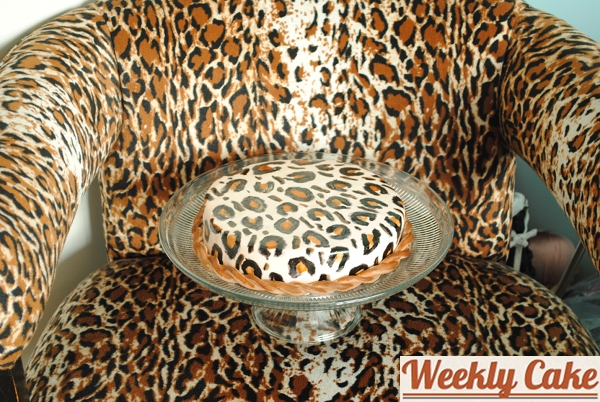
I was using my leopard print chair as a guide during the painting process, so I couldn’t resist placing the cake stand on the chair to see how close I got.
Pretty good, huh?
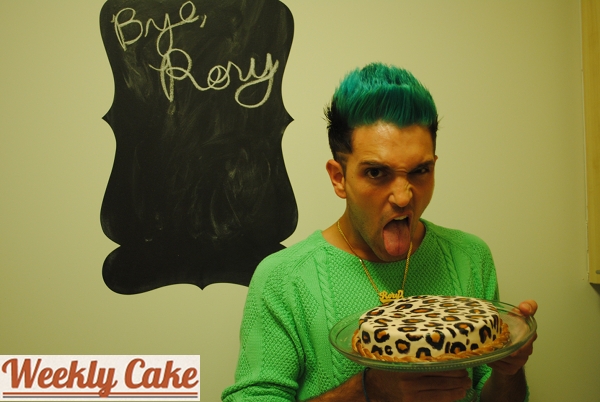
Rory liked his cake.
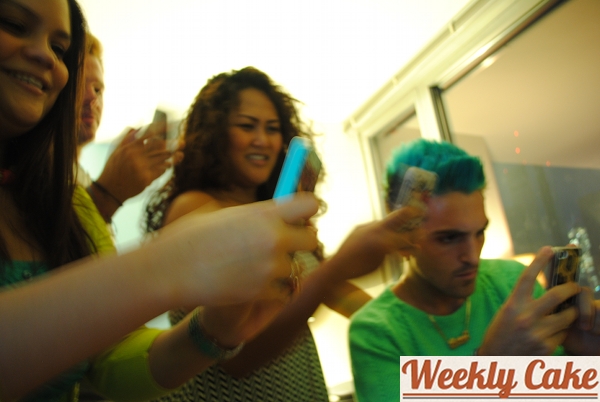
And everyone wanted to snap a pic.
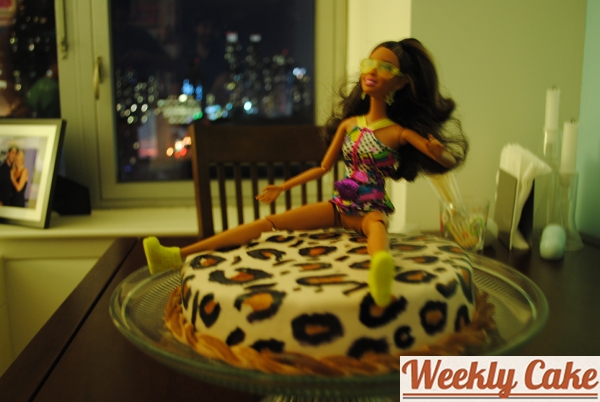
Before we cut into it, we took the opportunity to place a drunken Barbie on top. Some of her poses were not suitable for sharing on this blog, but I think this one is okay to share with you. 😉
And here’s a pic of the inside of the cake.
I can’t lie. This cake was OUT OF THIS WORLD, which is why I’ve decided to continue to keep my red velvet recipe a secret.
The marshmallow fondant tasted just as you might expect, like a REALLY sweet marshmallow. I was pleased with how thin I was able to roll the fondant out as it was so sparse on the cake, it didn’t impact the flavor much. Everyone had seconds, which is always a good sign.
Though this cake was a day-long process, it was well worth it and I was happy to share it with my closest friends.
And I conquered my fear of fondant!

I think marshmallow fondant is a great idea because they taste yummier than nasty regular fondant! This cake looks amazing and I’m glad it came out delicious. =)
Wow! Impressive.
I am so proud! You have come so far from the preteen who cracked her cake in half
because she was impatient to get it out of the pan!
Feel free to make this and bring it home to Mom, anytime.
Omigosh! It’s a masterpiece! You *should* be so proud! Gorgeous and delicious! An all-around winner!