This cake was a triumph for me. It was my first successful roll cake. You see, a couple years ago I tried to make a Bûche de Noël, which involves the same method of rolling a flat, rectangular shaped cake, and it was a disaster.
I learned recently from a conversation with a manicurist that you have to roll the cake when it’s still warm and pliable. In the above cake wreck, I had let the cake sit flat overnight, causing it to be dry and crack when I rolled it the next day. Lesson learned!
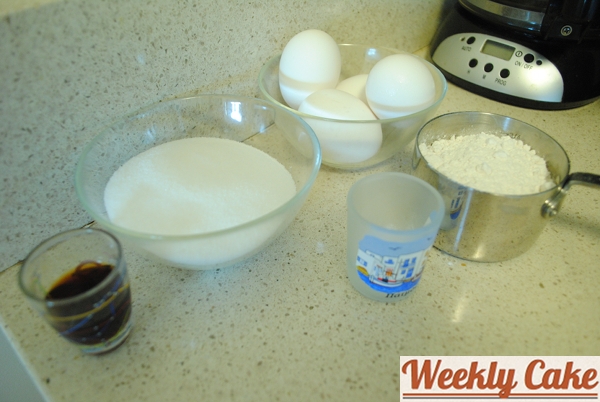
For this cake, I did my research, watching videos on how to assemble roll cakes. And using ingredients I had around the house, I set out to make Paula Dean’s Old Souh Jelly Roll Cake, but with different filling. Here’s my mise en place for the cake.
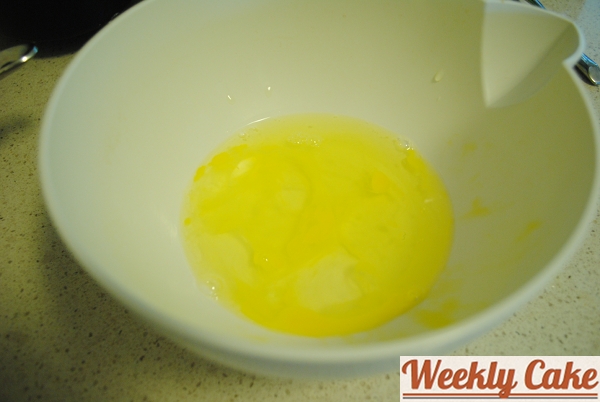
First step was to beat the egg whites until stiff. Well, actually, the first step was to separate all four eggs. I had a little trouble there, breaking one of the yolks and tainting the egg whites. I tried to fish the bits of egg yolk out at first, but it was a lost cause. I dumped the eggs and started all over again. It happens.
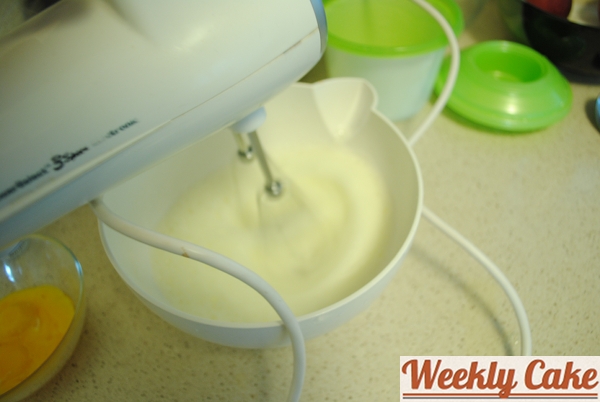
To the new batch of egg whites, I added a pinch of salt. I hear it helps break up the egg whites and makes them easier to whip.
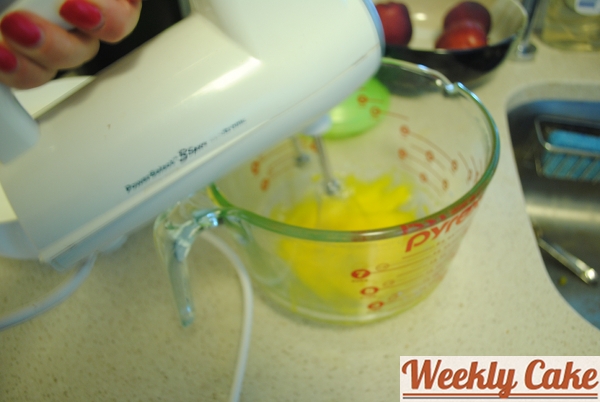
In a separate bowl, I whipped the egg yolks.
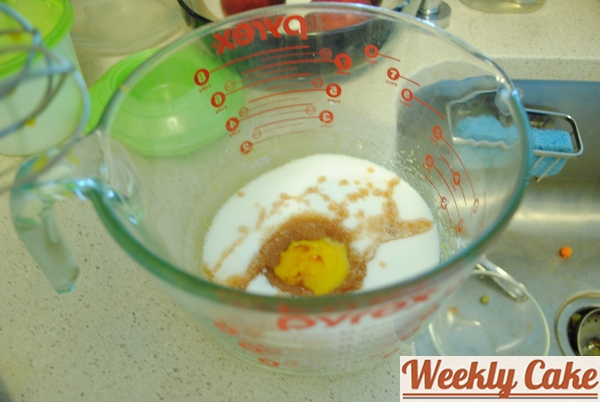
Next I added the sugar and vanilla.
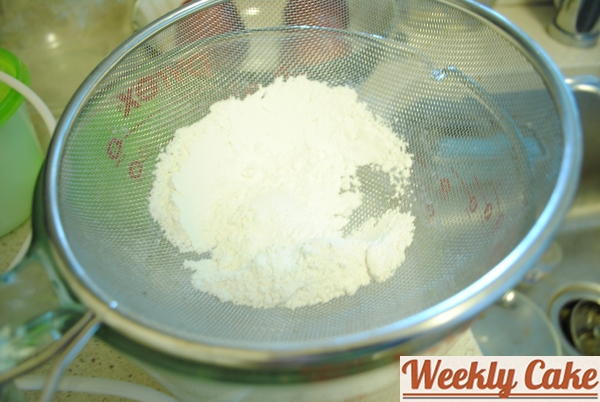
Into the egg yolk mixture, I sifted the cake flour, baking powder, and salt…
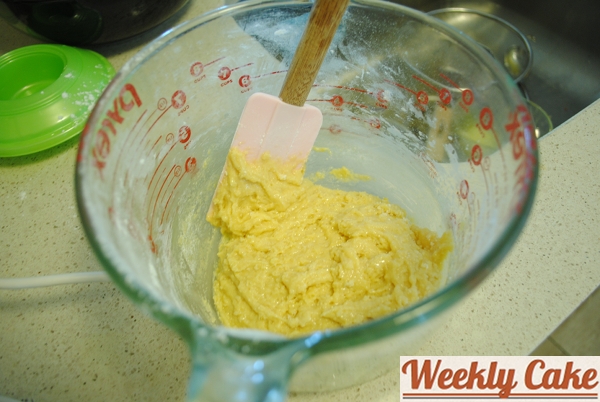
… and mixed it all up.
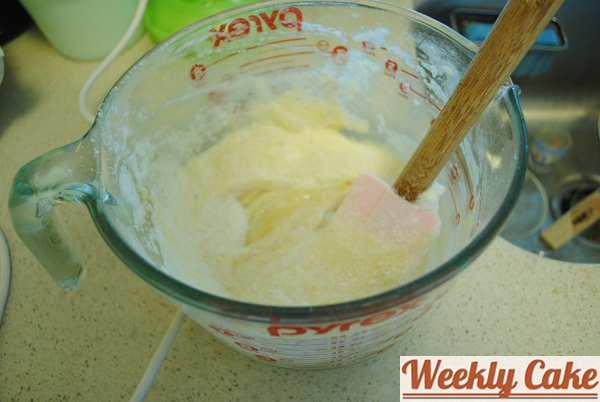
Next I folded in the egg whites until there were no longer any white streaks in the batter.
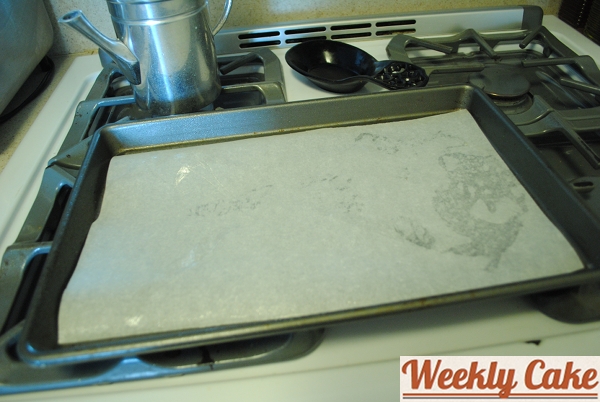
My 15 x 10 x 1 inch jelly roll pan then got a generous coating of cooking spray before I placed cut parchment on the bottom. I then sprayed the top of the parchment.
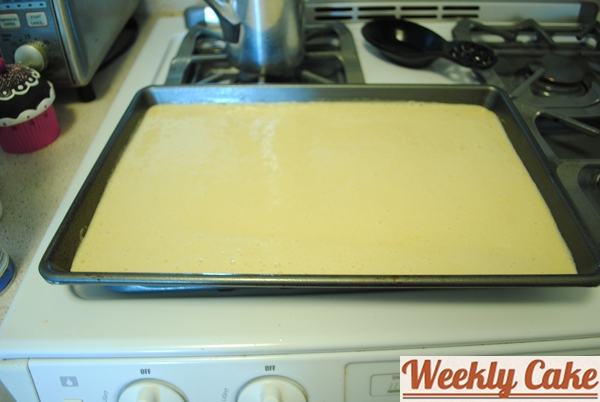
In went the batter.
It baked pretty quickly. Took about 8 minutes at 400 degrees.
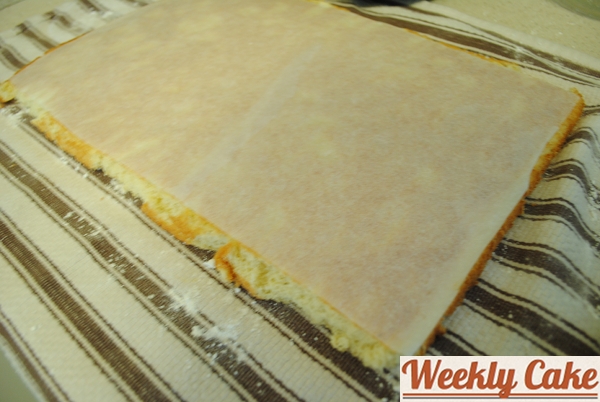
And then it was crunch time. I had to get the cake out of the pan first and only a clean dish towel sprinkled with confectioners sugar to prevent sticking.
Some of the edges got suck in the pan, but it was okay because I was going to trim the edges anyway.
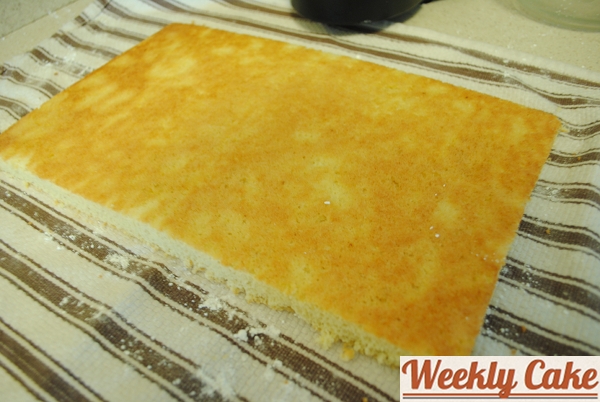
Once I peeled the parchment off, I trimmed all four edges so they were neat.
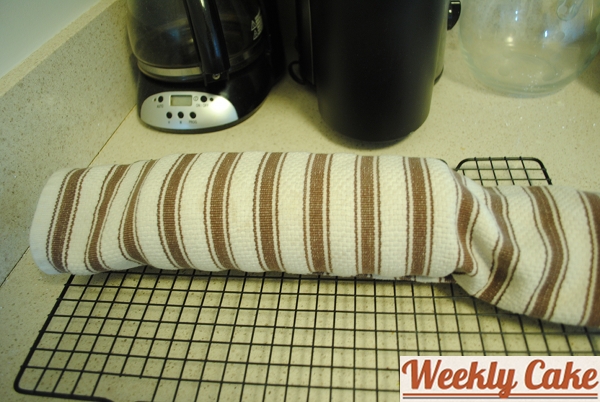
I then rolled the cake up, starting from the short side and set it on a wire rack to cool for about 15 minutes.
In the meantime, I made the filling. I wasn’t using a recipe. I used about a 1/2 cup of heavy cream, 1/2 cup of cherry preserves, and a sprinkling of confectioners sugar.
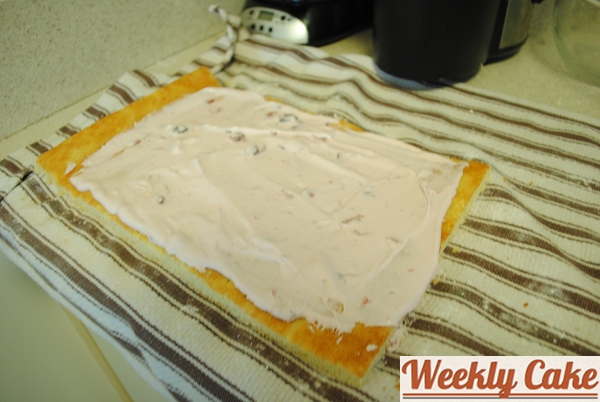
I whipped it up using my hand mixer, but had a hard time getting it really stiff, probably because I added too much cherry preserves. Oh well. I spread it out on the cooled cake without much of a problem.
I was able to successfully roll the cake back up without any cracking! I cut a diagonal piece off each end to make it pretty and sprinkled the top with confectioners sugar.
Now that I feel like I’ve mastered the roll cake, I’m very much looking forward to crafting a successful Bûche de Noël this holiday season. Stay tuned.



Interesting. I’ve never made a jelly roll cake, but it never occurred to me that you’d have to roll, unroll, fill, and then roll again. Presumably, it’s so the filling doesn’t melt, but I would think that rolling it twice is even more stressful than rolling it just once!
Rachel – I’d have thought the same. But the cake is more pliable when it’s warm, so it’s less prone to cracking during the initial roll. And letting it cool when rolled helps it to hold its shape. Also, everything I read suggested filling the cake after only 10-15 minutes of cooling, so it wasn’t 100% cool when I filled it, but not so hot that the filling melted.