This cake was months in the making. What I mean by that is I baked the cake way back in March, the weekend before I started cake decorating class. Since I didn’t have the energy to assemble the cake on that particular day, I wrapped it up and froze it to be assembled at a later time.
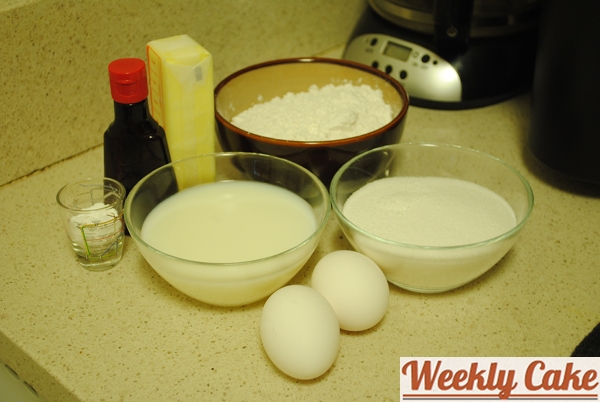
This cake was made using a basic white cake recipe. The only change I made was using almond extract in place of vanilla extract. It’s a simple recipe and yields a 12-serving cake, which is prefect when you’re baking a smaller cake for a small crowd. Here’s the mise en place.
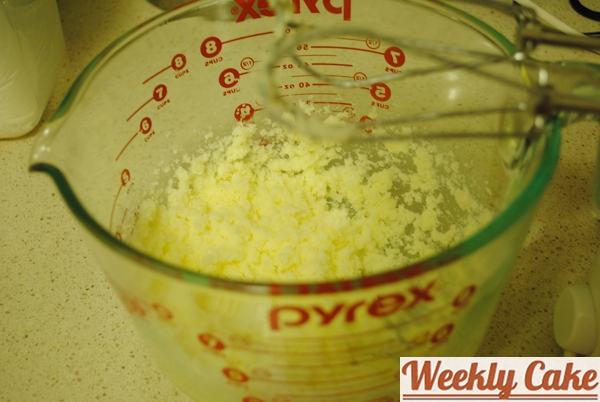
First I creamed the butter and sugar together.Have you ever snagged a taste of butter and sugar mixture? I highly recommend it.
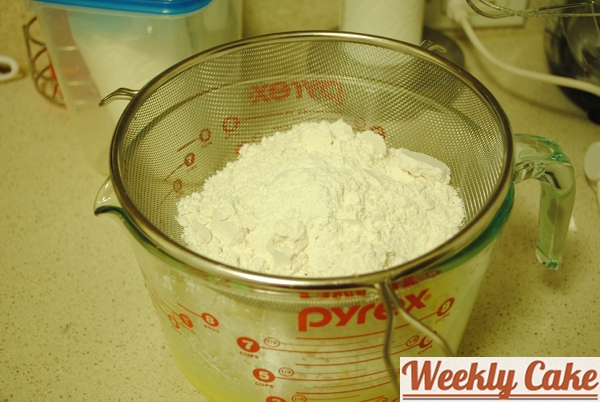
Next I sifted the remaining dry ingredients into the mix.
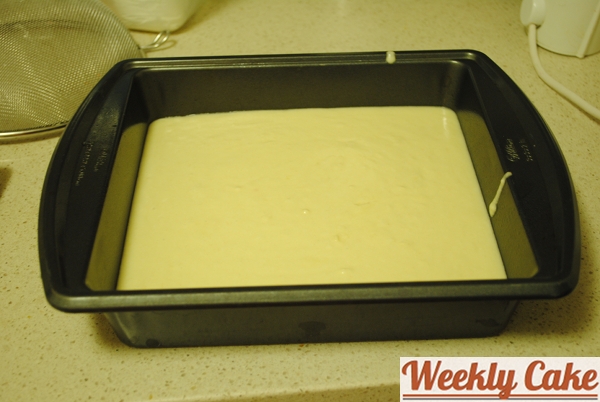
After giving it a little stir, I mixed in the rest of the ingredients and this baby was ready to bake.
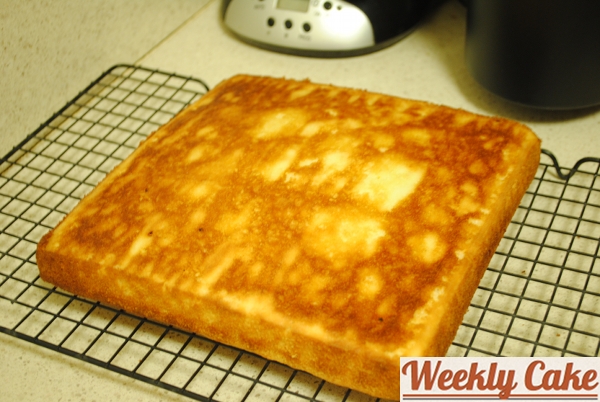
It slid out of the pan beautifully. As I mentioned earlier, once it cooled, I wrapped it up and put it in the freezer.
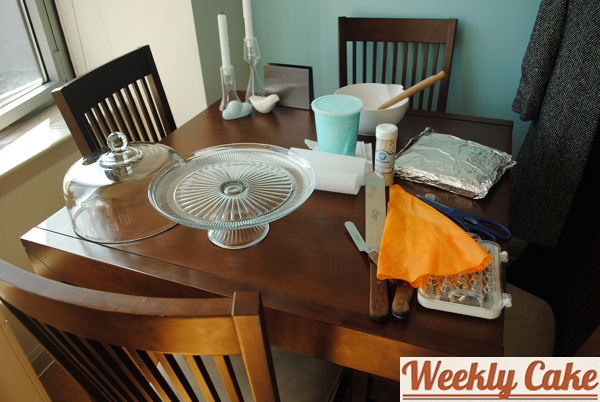
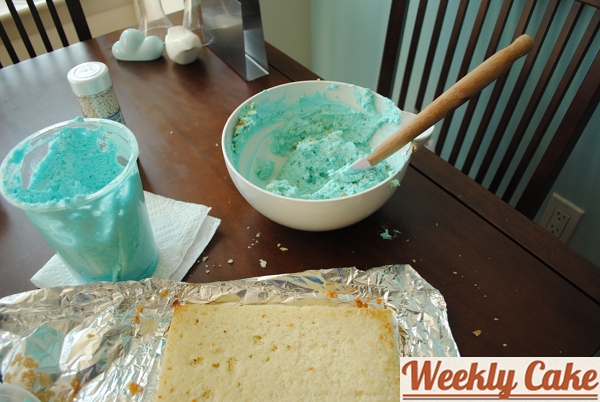
And then, with new cake decorating skills under my belt, it was time to assemble the cake. I decided to use some leftover decorator’s buttercream I had taken home from cake decorating class and also stored in my freezer. I had very ambitious decorating plans for this cake, so I set out a decorating mise en place.
That’s my sewer’s dress form on the right side of the picture. So don’t be alarmed by the cloaked woman lurking in the shadows. She’s cool. 😉
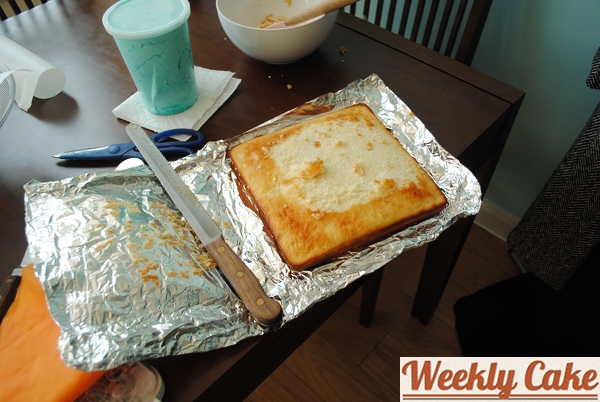
I’ve always wanted to make a tall, skinny, four-layer cake. Baking a 9″ x 9″ square cake and cutting it into four even squares seemed the logical thing to do easily yield four layers. So that’s what I set out to do here. But first, I had to trim the domed top off the cake. Now, there’s two things I did here that I learned in cake decorating class. The first is that when you trim the top off a cake, you can do it in phases – as many phases as you need. I have watched many instructional videos on YouTube where the baker seems to lob the dome off the top of the cake in one, smooth cut. But you can do it pieces and take your time if you want to get it right.
If I were doing this a couple months ago, I’d have taken the scraps I trimmed off the cake and immediately eaten them. You know, to test the cake out and make sure it’s not poison. But in cake class, I learned to throw the scraps into a bowl.
This tip is going to blow your mind. “What do you do with all those cake scraps if you don’t immediately shove them in your mouth?” You might be wondering. Well, you break them up into crumbs and mix them with some of your frosting to create a cake “spackle” that is going to really hold your layers together and also make for a great, stable frosting for a crumb coat. I used this method to assemble my Yellow Espresso Amaretto Cake in cake class. It rocks.
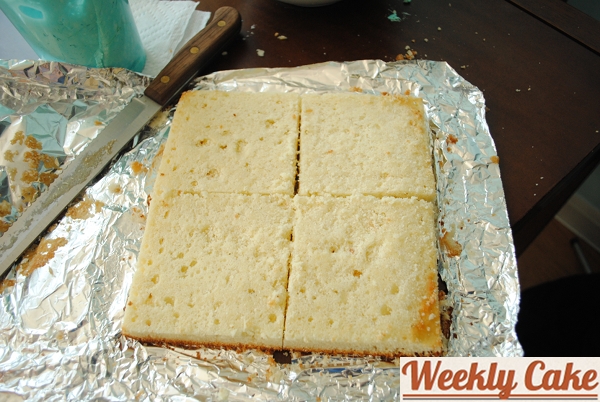
Once the cake top and sides were fully trimmed, I used a ruler to cut four equal squares.
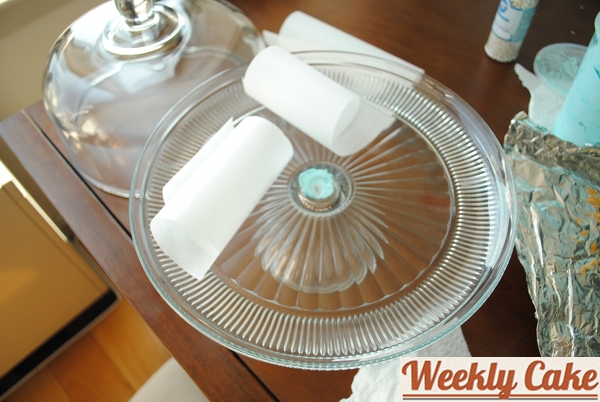
In order to “glue” the first layer to the cake stand, I dabbed a smidge of frosting in the middle of the stand before placing the first cake layer.
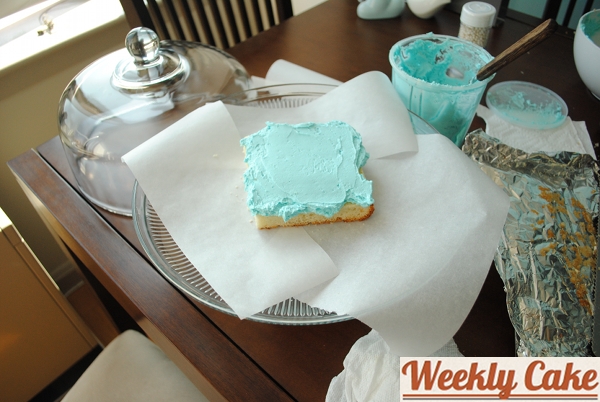
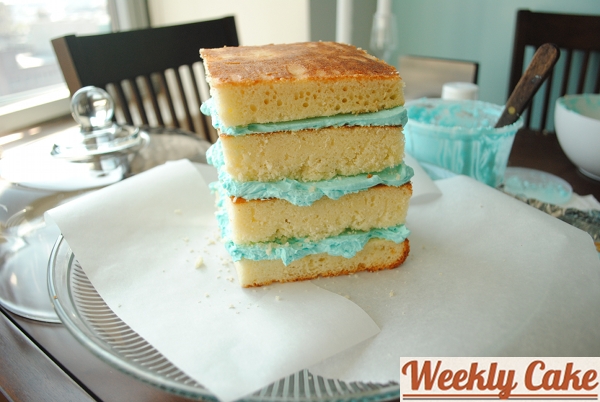
I placed the first layer and gave it a spackle topping.
With the first spackle layer in place, I continued to assemble the rest of the layers. I kind of like the rustic look of exposed cake layers.
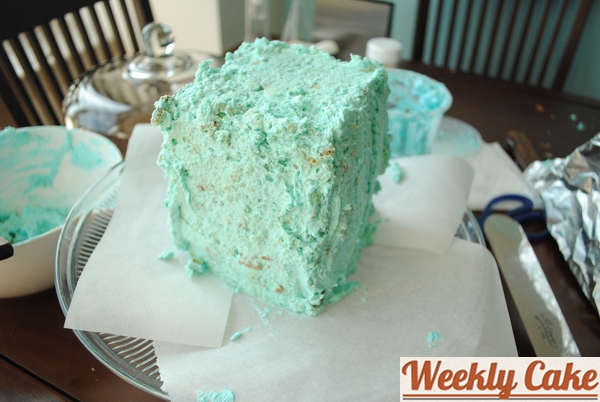
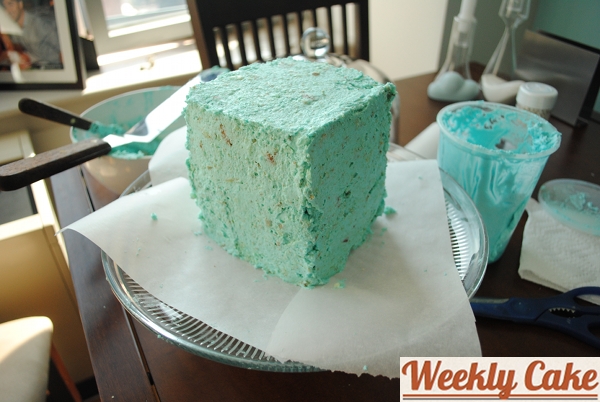
The next step was to cover the top and sides with the remaining cake spackle to act as the cake’s crumb coat. In short, a crumb coat is a thin layer of frosting used by bakers to seal the cake before its final, smooth layer of frosting. It prevents the cake crumbs from lifting into the smooth frosting and also protects the cake from drying out too soon. I found that doing a crumb coat on my Yellow Espresso Amaretto Cake was remarkably easier than doing it on this square cake. All those right angles proved to be a challenge.
There is a moment in every cake’s life when it looks completely and utterly grotesque. And for this little cake, that moment had arrived. But don’t worry, I smoothed it all out as best I could.
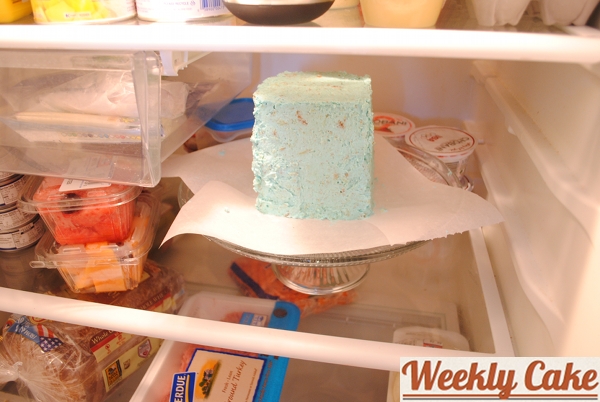
Then it was time for the crumb-coated cake to chill out in the fridge for 30 minutes or so. This sets the crumb coat, making it easier to get the final layer of frosting super smooth.
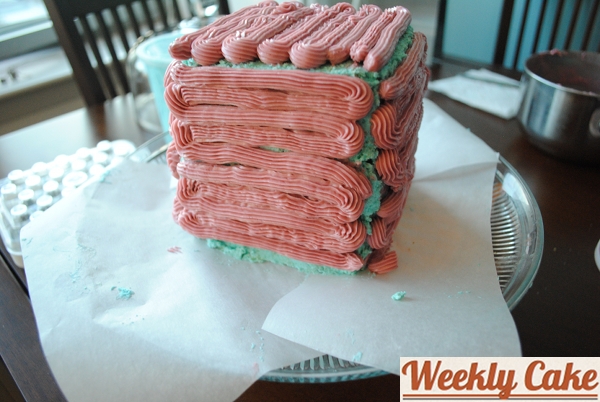
At this point, I realized I didn’t have nearly enough blue frosting left to finish frosting the cake, so I defrosted some pink icing, also leftover from cake decorating class. Another tip I learned was to use a 32 star tip to pipe your final layer of frosting onto the cake in a zig-zag pattern. You could leave it piped if you want, but it’s really meant as a guide to fully cover the cake.
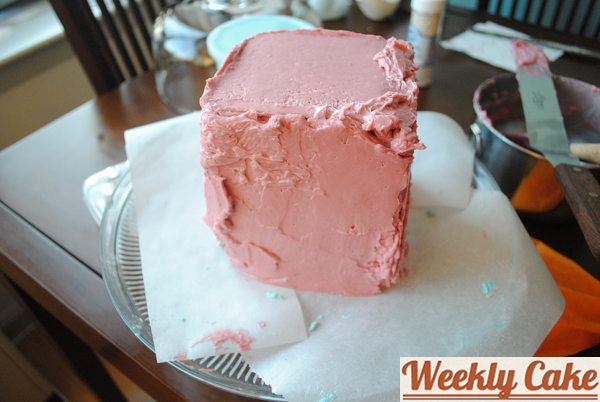
I smoothed the pink frosting out. Again, I was doing the best I could with all those right angles.
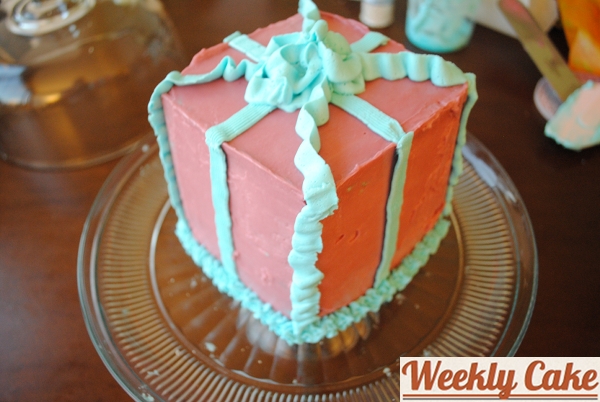
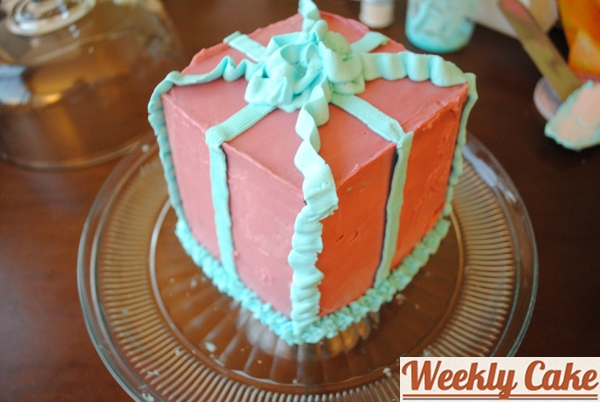
In order to hide the seams in the frosting, I used the remaining blue frosting to decorate the cake like a gift box. The colors are definitely not what I would choose to work with. But as I mentioned earlier, I was being resourceful and using leftover frosting. The contrast in the colors is a little… tacky? garish? Surely those who know me know I have better taste than to mix pink frosting with blue. But this was the finished product.
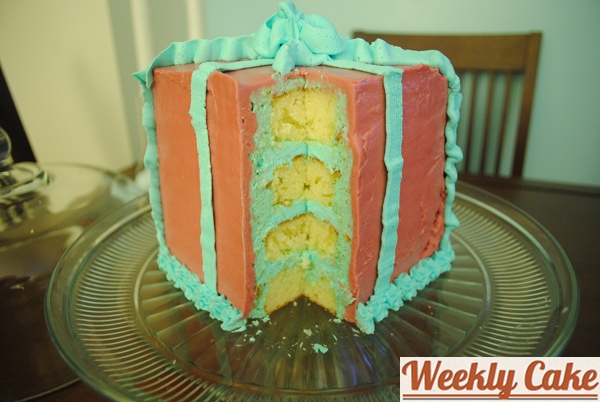
I just loved how this cake looked once I cut a piece. Look at those neat, little layers! The crumb coat was a tad thicker than I’d have liked, but it tasted good nonetheless.
I love all the tips in week 17! I know I’ll refer to this site in the future. I like how the cut cake looks, too! Looks like something on the fancy dessert table in a high end restaurant! Uncle Allan would flip over the almond flavored cake, too! This one looks like a real keeper!
[…] this was a layer cake, I used the same “cake spackle” technique as described in last week’s post, combining the crumbs of the cake scraps with a small portion of […]